

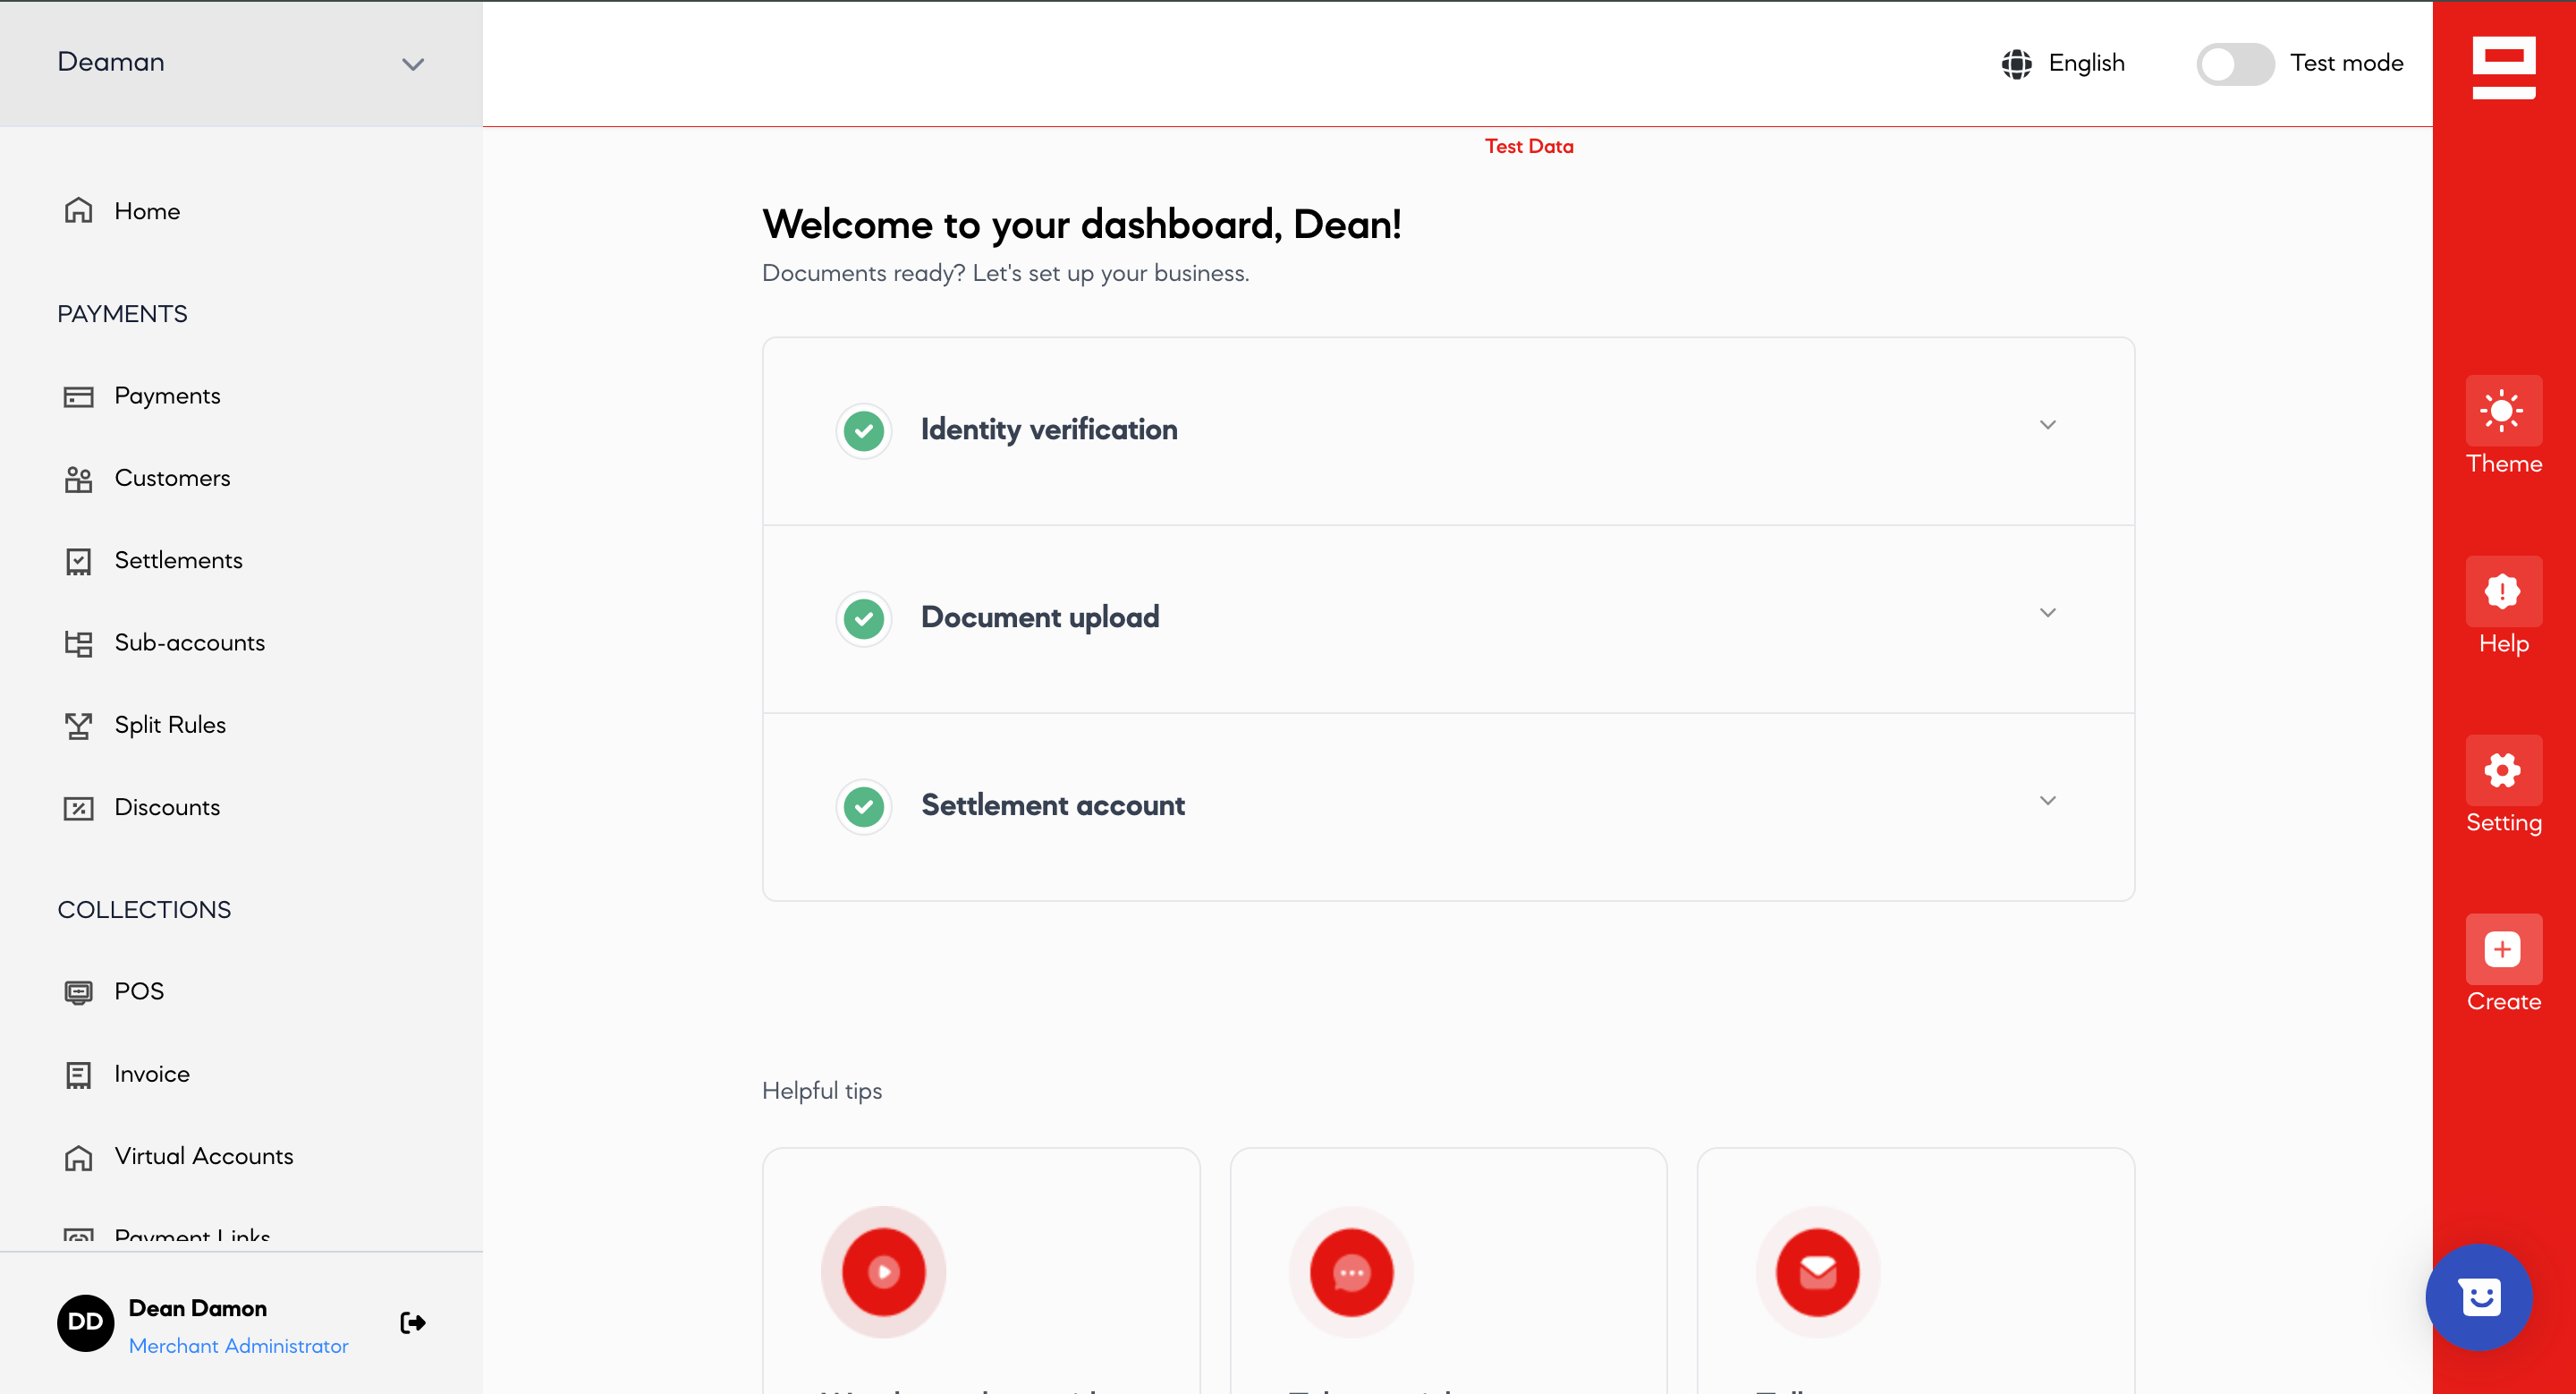
1. Submit your business for approval
Live keys only appear once SeerBit has approved your business.- Complete onboarding: upload the required KYC documents in your dashboard.
- Wait for approval: the team reviews your application and notifies you when your live account is activated.
2. Swap your API keys
Replace the test keys in your configuration with your live keys, from Settings > API Keys. Nothing else changes — the base URL is the same in both modes, so the keys are what switch you over. See Test and live modes.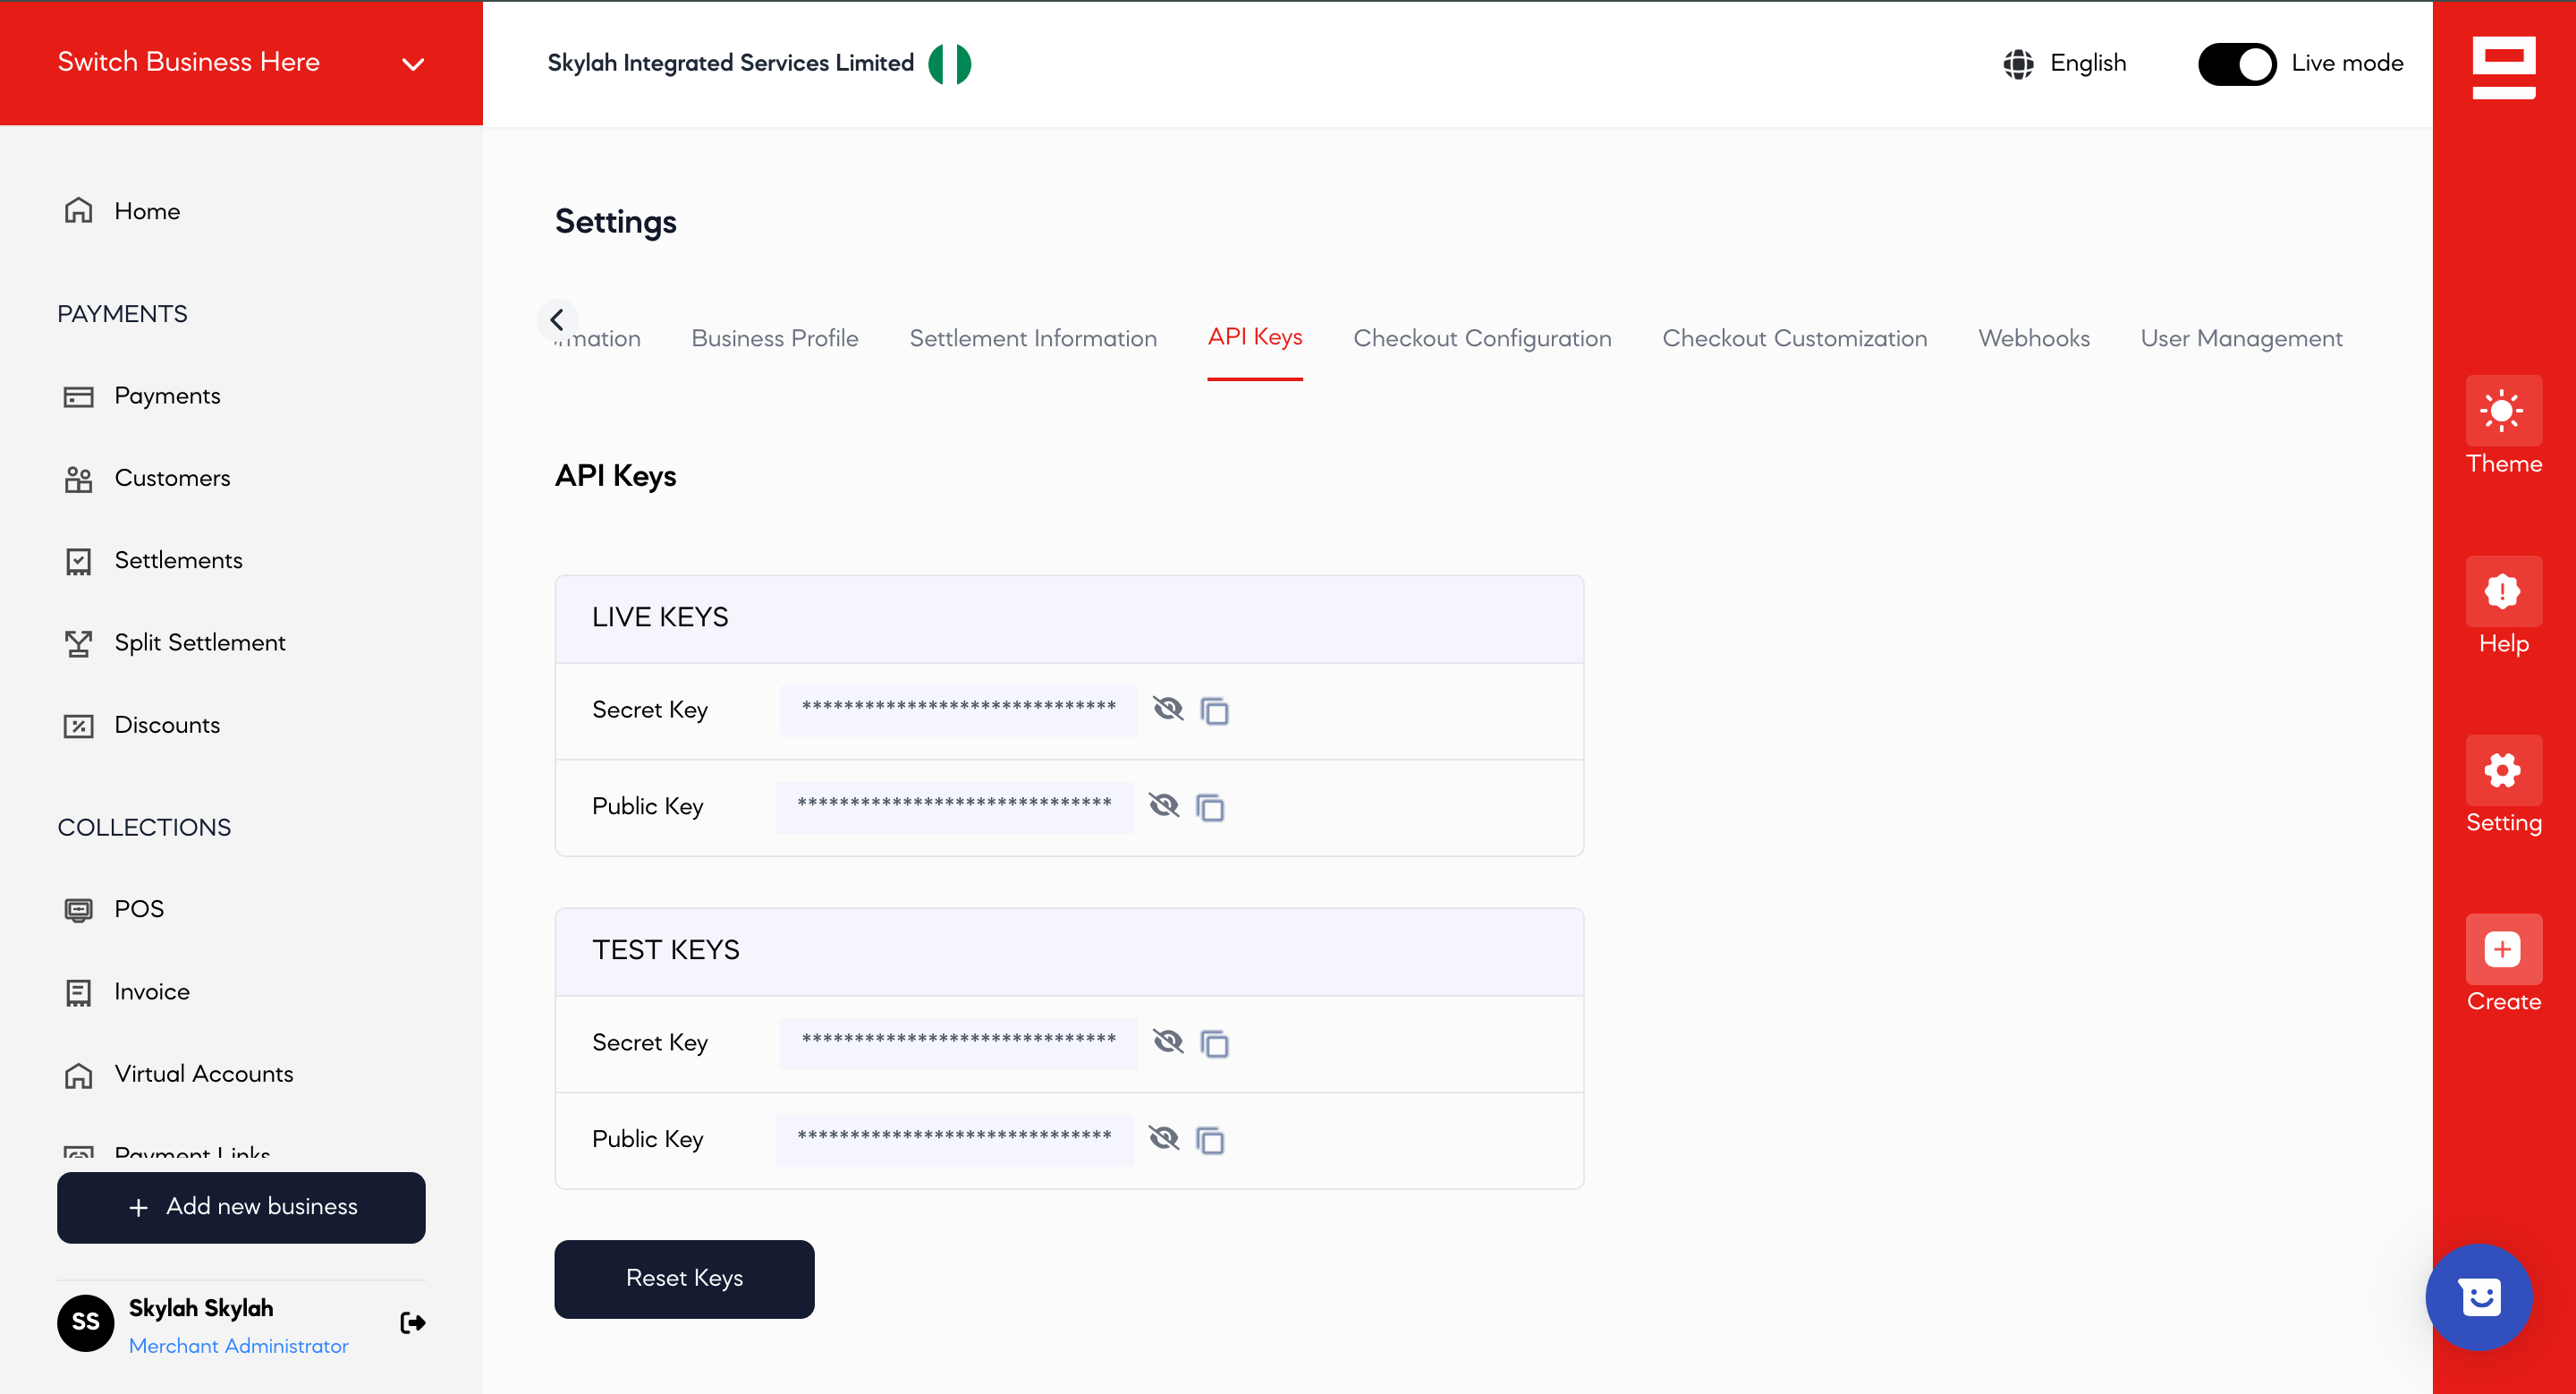
3. Re-point your webhooks
Webhook subscriptions do not carry over between modes. Configure your production webhook URL in the live dashboard, or you will stop receiving notifications the moment you switch keys.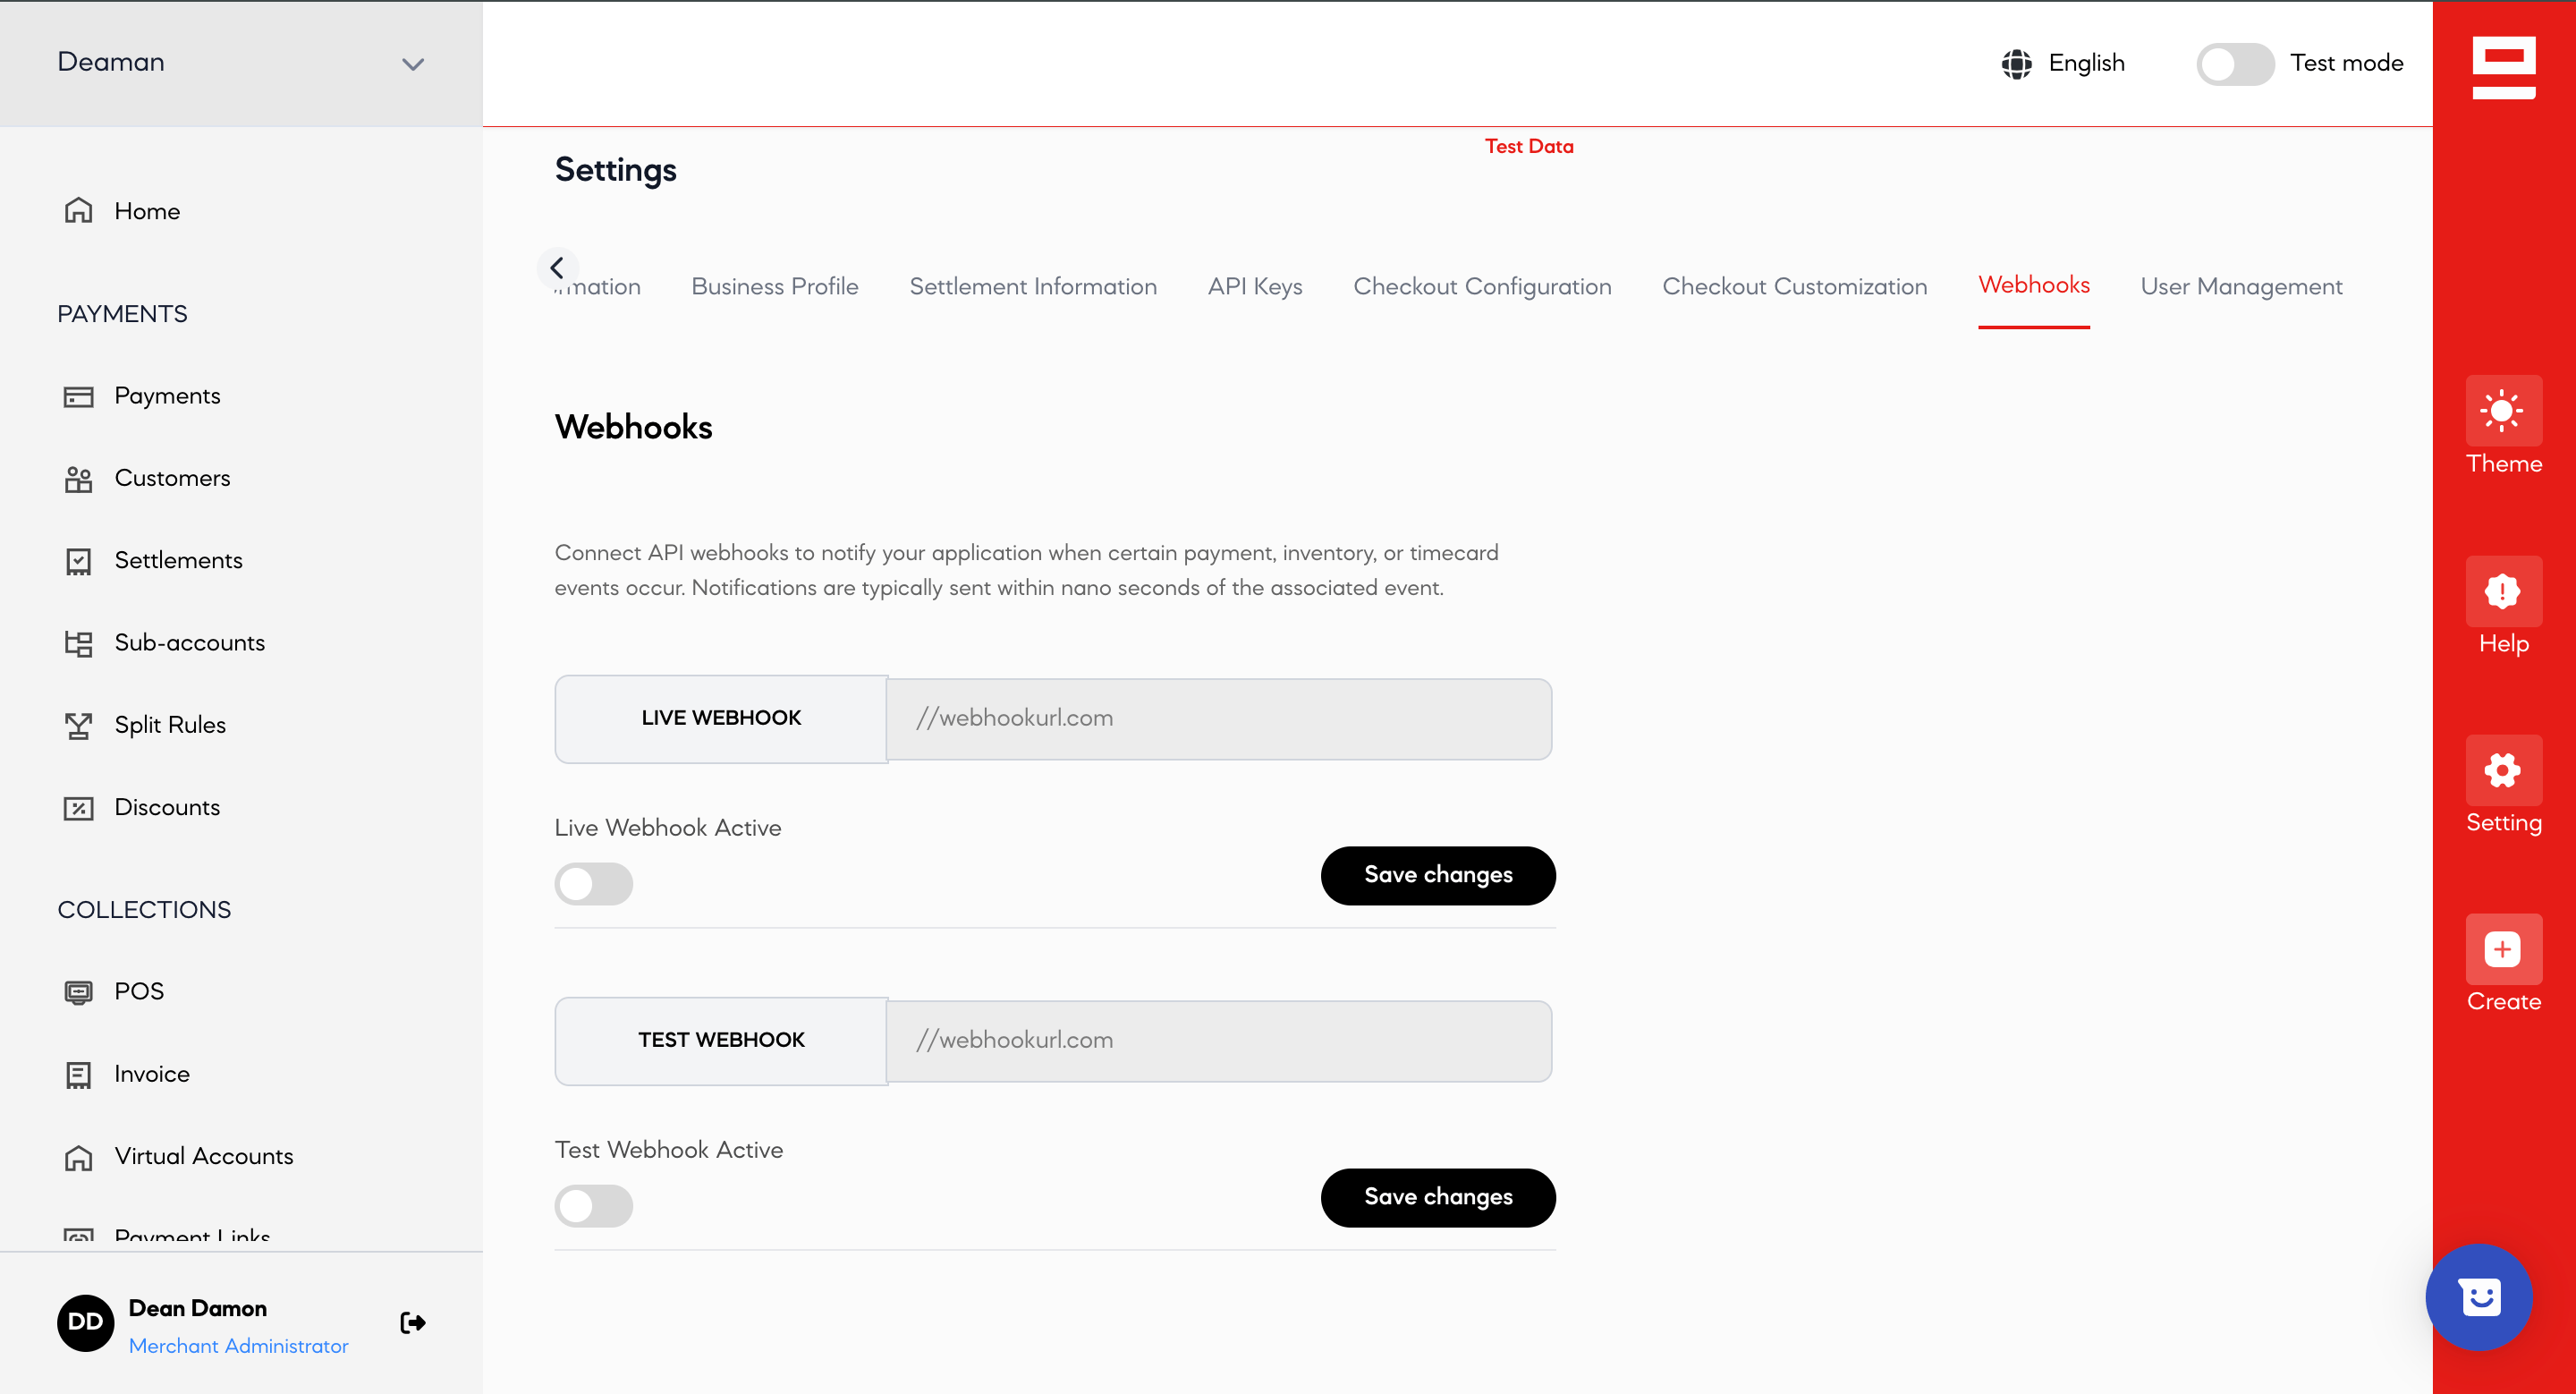
4. Run one real transaction
Process a small real payment and confirm it end to end: the charge succeeds, your webhook fires, and verifying the payment returns what you expect withmode reading live.
Before you call it done
- Verify server-side before fulfilling. Check the status code, the amount and the currency — never fulfil from a browser redirect alone. See Verify a payment.
- Handle
PENDING. Local payment methods commonly return it, and a pending payment is not a paid one. See status codes. - Make your references unique and idempotent. A reused
paymentReferenceis rejected; a retried timeout should query the original rather than re-charge. - Add the payment methods your customers actually use in each country you sell into.